Environment Setup & West
This guide walks you through setting up a complete Zephyr development environment from scratch, then covers the west commands you'll use every single day.
You can place your Zephyr workspace anywhere on your machine. Throughout this guide we use /your/workspace/path as a placeholder — replace it with wherever you want to keep your workspace (e.g. /home/john/zephyr_ws on Linux, /Users/john/zephyr_ws on macOS or D:\projects\zephyr_ws on Windows).
Minimum tool versions required:
| Tool | Minimum version |
|---|---|
| CMake | 3.20.5 |
| Python | 3.12 |
Devicetree compiler (dtc) | 1.4.6 |
Step 1 — Install system dependencies
- 🐧 Linux
- 🍎 macOS
- 🪟 Windows
Update your system first:
sudo apt update && sudo apt upgrade
Install all required packages:
sudo apt install --no-install-recommends \
  git cmake ninja-build gperf ccache dfu-util \
  device-tree-compiler wget python3-dev python3-venv \
  python3-tk xz-utils file make gcc gcc-multilib \
  g++-multilib libsdl2-dev libmagic1
On ARM64 systems (e.g. Raspberry Pi), omit gcc-multilib and g++-multilib.
Verify your tool versions:
cmake --version   # must be >= 3.20.5
python3 --version # must be >= 3.12
dtc --version     # must be >= 1.4.6
Install Homebrew if you don't have it:
/bin/bash -c "$(curl -fsSL https://raw.githubusercontent.com/Homebrew/install/HEAD/install.sh)"
echo 'eval "$(/opt/homebrew/bin/brew shellenv)"' >> ~/.zprofile
source ~/.zprofile
Install all required packages:
brew install cmake ninja gperf python3 python-tk \
  ccache qemu dtc libmagic wget openocd

echo 'export PATH="'$(brew --prefix)'/opt/python/libexec/bin:$PATH"' >> ~/.zprofile
source ~/.zprofile
x86-64 macOS (Intel) is not supported by the Zephyr SDK installer. Use Apple Silicon (M1/M2/M3) or run Linux in a VM.
Verify your tool versions:
cmake --version
python3 --version
dtc --version
winget is the Windows Package Manager — built into Windows 10 (1709+) and Windows 11.
It installs and updates tools from the command line, similar to apt on Linux or brew on macOS.
Open PowerShell as Administrator and install all required tools in one command:
winget install Kitware.CMake Ninja-build.Ninja `
  oss-winget.gperf Python.Python.3.12 `
  Git.Git oss-winget.dtc wget 7zip.7zip `
  --accept-source-agreements --accept-package-agreements
Close and reopen PowerShell to pick up the new PATH entries before running any of the tools.
Verify:
cmake --version
py --version
dtc --version
You need at least CMake 3.20.5, Python 3.12 and dtc 1.4.6. Newer versions are fine.
Step 2 — Create a virtual environment and install west
West is the meta-tool that ships with Zephyr. It does two things:
- Workspace management — clones Zephyr and all its dependencies at the exact right versions
- Build and flash CLI — wraps
cmake,ninja, and your programmer into single commands
Install it inside a Python virtual environment to keep it isolated from your system Python.
First create your workspace folder and move into it — the virtual environment lives inside it, as .venv.
Pick any folder you like; the course video uses ~/efz-ws.
- 🐧 Linux
- 🍎 macOS
- 🪟 Windows
mkdir -p /your/workspace/path
cd /your/workspace/path
python3 -m venv .venv
source .venv/bin/activate
pip install west
mkdir -p /your/workspace/path
cd /your/workspace/path
python3 -m venv .venv
source .venv/bin/activate
pip install west
PowerShell:
New-Item -ItemType Directory -Force -Path D:\your\workspace\path
cd D:\your\workspace\path
Set-ExecutionPolicy -ExecutionPolicy RemoteSigned -Scope CurrentUser
py -3.12 -m venv .venv
.venv\Scripts\Activate.ps1
pip install west
py?Windows ships a python shortcut that opens the Microsoft Store instead of running Python. The py launcher always finds the Python you installed. Once the virtual environment is active, python and pip work normally.
The virtual environment is not activated automatically. Every time you open a new terminal and want to work with your Zephyr workspace, run the activate command first:
- Linux / macOS:
source /your/workspace/path/.venv/bin/activate - Windows (PowerShell):
D:\your\workspace\path\.venv\Scripts\Activate.ps1
Your prompt will show (.venv) when the environment is active.
Verify west is installed:
west --version
# west, version 1.x.x
Step 3 — Initialize the Zephyr workspace
This step clones the EmbeddedFun fork of Zephyr and all its dependencies (HALs, modules, bootloader). Expect 2–3 GB of downloads — it only runs once per workspace.
west init -m https://github.com/huunghiaspkt/zephyr --mr main /your/workspace/path
cd /your/workspace/path
west update
Always use west init instead of git clone. West registers the manifest so that west update always restores the dependency tree that manifest lists.
The fork is upstream Zephyr main plus one commit that adds the EFZ-ESP32S3 board. That's why -b efz_esp32s3/esp32s3/procpu works without copying any files — and every upstream board, including the ESP32-S3-DevKitC, works exactly as before.
Install the Python dependencies:
- 🐧 Linux
- 🍎 macOS
- 🪟 Windows
west packages pip --install
west packages pip --install
PowerShell:
python -m pip install @((west packages pip) -split ' ')
Register the workspace with CMake and fetch the Espressif binary blobs — the Wi-Fi, Bluetooth and RF libraries every ESP32 build needs. Both need the Python packages you just installed, so they come after them:
west zephyr-export
west blobs fetch hal_espressif
FATAL ERROR: 1 blobs failed to be fetched?A download dropped on the way. Run west blobs fetch hal_espressif again: it only fetches the files that are still missing.
Step 4 — Install the Zephyr SDK
The SDK contains the toolchains for ARM, RISC-V, Xtensa, and all other supported architectures.
cd /your/workspace/path/zephyr
west sdk install
west sdk install automatically downloads and sets up the correct SDK version for your Zephyr checkout.
Step 5 — Verify
Prove the whole toolchain works: build the course's Hello World sample, flash it to your board, and read what it prints.
The sample is samples/efz_samples/01_how-to-start/hello_world in the fork, and it runs on every board.
Build it for your board:
- EFZ-ESP32S3
- ESP32-S3-DevKitC
cd /your/workspace/path/zephyr
west build -p always -b esp32s3_devkitc/esp32s3/procpu samples/efz_samples/01_how-to-start/hello_world
cd /your/workspace/path/zephyr
west build -p always -b efz_esp32s3/esp32s3/procpu samples/efz_samples/01_how-to-start/hello_world
-b picks the board target and -p always starts from a clean build folder. On any other Zephyr board, use its target instead (supported chip families).
The image lands in build/zephyr/zephyr.bin.
Plug the board in over USB and flash it, then open the serial monitor:
west flash
west espressif monitor
First the ESP32-S3 bootloader prints a few lines. A Calculated: … Expected: … Attempting to boot anyway... message is normal there, because Zephyr's simple boot doesn't append that checksum. Then Zephyr boots and prints your board's name:
- EFZ-ESP32S3
- ESP32-S3-DevKitC
*** Booting Zephyr OS build ... ***
Hello World! esp32s3_devkitc/esp32s3/procpu
*** Booting Zephyr OS build ... ***
Hello World! efz_esp32s3/esp32s3/procpu
Press Ctrl+] to quit the monitor. If you see the Hello World! line, your environment is ready.
west flash picks the first ESP32 port it finds. Name the port to be sure: west flash --esp-device /dev/cu.usbmodem101 (Linux: /dev/ttyACM0, Windows: COM5).
Serial console — VS Code setup
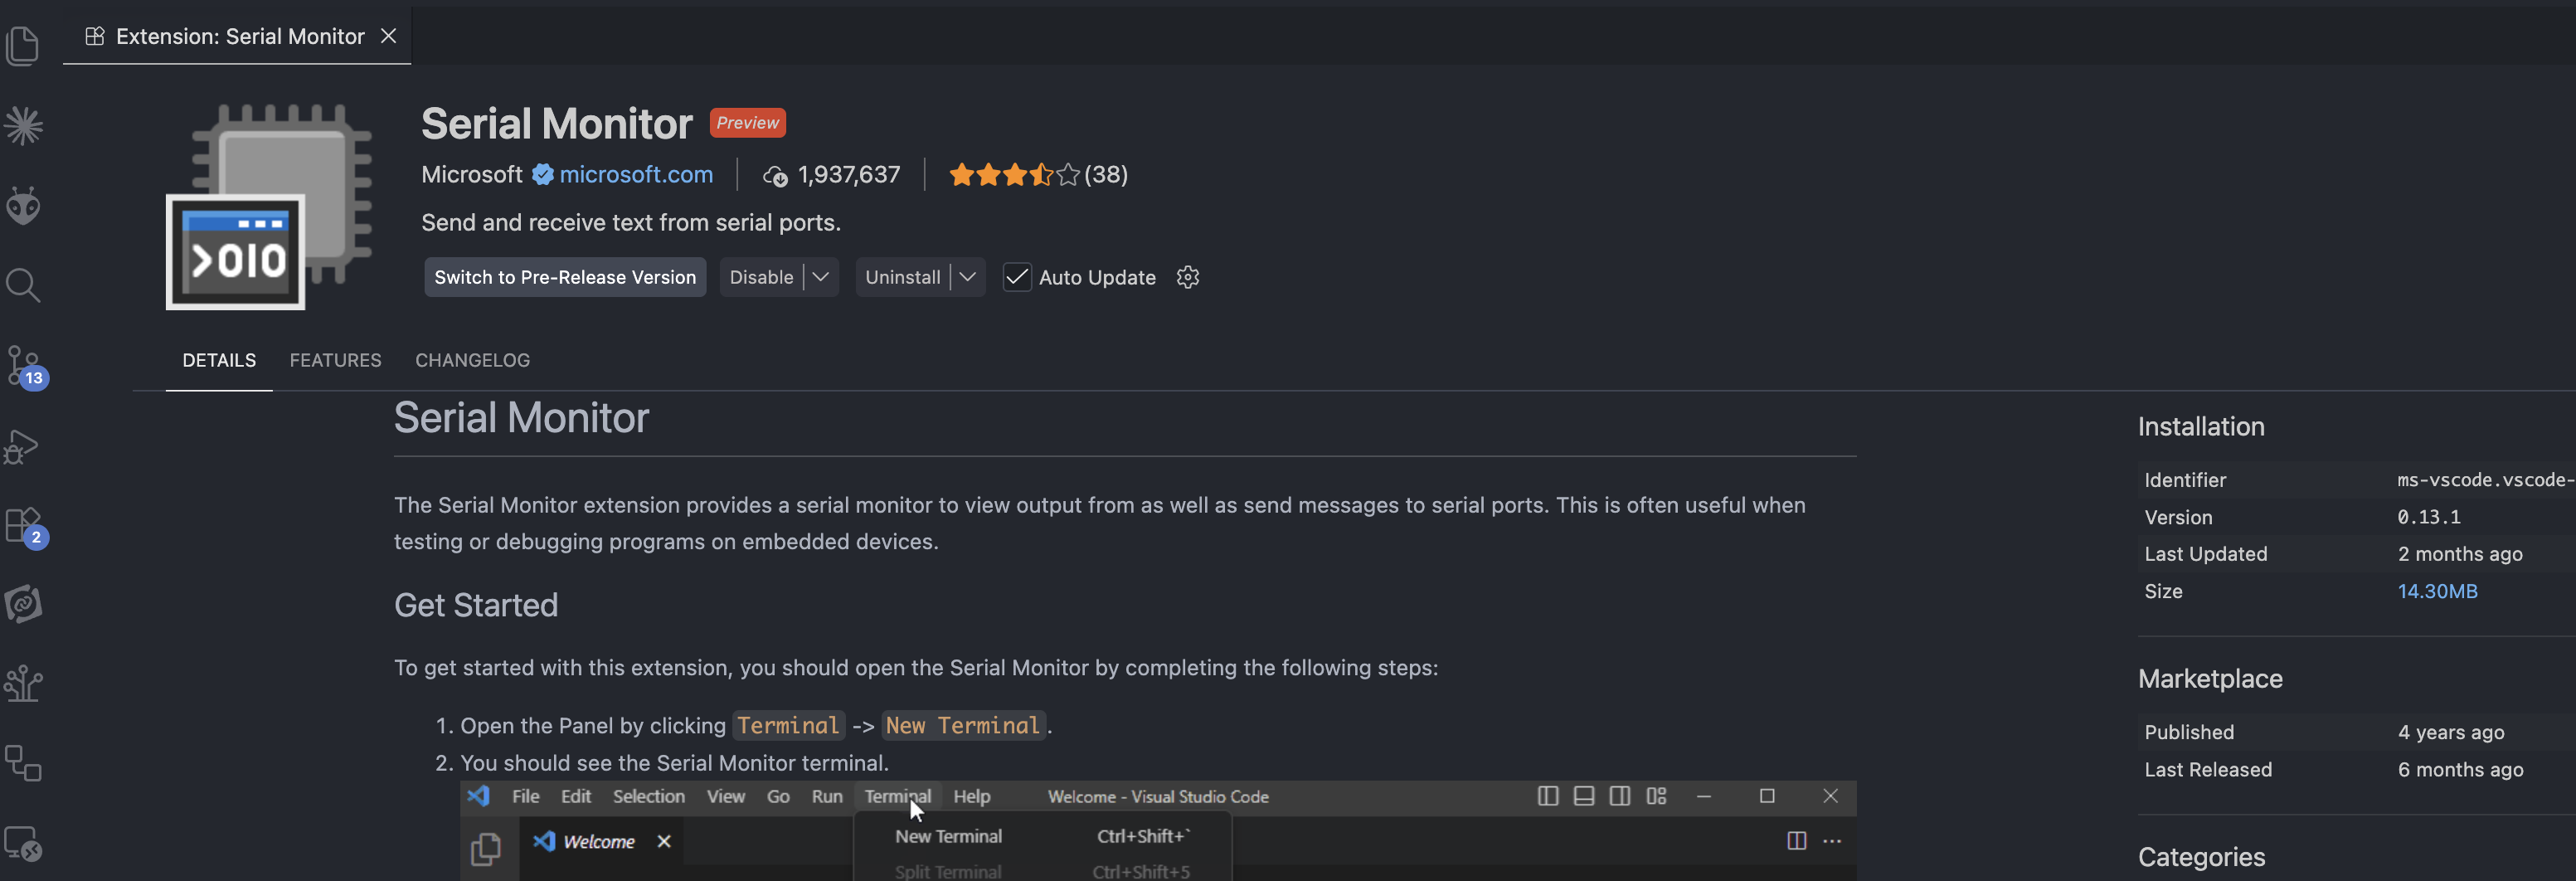
To read printf / printk output from your board over USB, install the Serial Monitor extension in VS Code and set up the USB serial driver for your platform.
The EFZ-ESP32S3 has no USB-to-serial chip — its USB-C goes straight to the ESP32-S3's native USB, which every OS recognizes out of the box (/dev/ttyACM0, /dev/cu.usbmodem*, COMx). On Linux you still need the dialout group below; skip the driver tables.
Install the extension:
Open VS Code, go to the Extensions panel (Ctrl+Shift+X / Cmd+Shift+X), and search for Serial Monitor by Microsoft.
- 🐧 Linux
- 🍎 macOS
- 🪟 Windows
On Linux, serial port access requires adding your user to the dialout group:
sudo usermod -aG dialout $USER
Log out and back in for the change to take effect. Then verify:
groups | grep dialout
Linux includes CP210x, CH340, and FTDI drivers in the kernel — no additional installation needed.
Most ESP32 and nRF boards use one of these USB-to-serial chips. Install the driver that matches your board:
| Chip | Common boards | Driver |
|---|---|---|
| CP210x (Silicon Labs) | ESP32-DevKitC, many Espressif boards | silabs.com/developers/usb-to-uart-bridge-vcp-drivers |
| CH340 / CH341 | Cheaper ESP32 clones | wch-ic.com |
After installing, plug in your board and verify the port appears:
ls /dev/cu.*
# e.g. /dev/cu.usbserial-0001
Windows requires a USB-to-serial driver. Install the one that matches your board's chip:
| Chip | Common boards | Driver |
|---|---|---|
| CP210x (Silicon Labs) | ESP32-DevKitC, many Espressif boards | silabs.com/developers/usb-to-uart-bridge-vcp-drivers |
| CH340 / CH341 | Cheaper ESP32 clones | wch-ic.com |
| FTDI | Older and industrial boards | ftdichip.com/drivers/vcp-drivers |
After installing, plug in your board and check Device Manager → Ports (COM & LPT) — your board should appear as a COM port (e.g. COM3).
Check the board's product page or look for a small IC near the USB connector labelled CP2102, CH340, or FT232.
Open the Serial Monitor in VS Code (Terminal → Serial Monitor), select the correct port, set the baud rate to 115200, and connect.